
What are Tables?
Tables are the starting point to any data exploration in Lightdash - they’re the data in Lightdash that you can query. The beauty of Lightdash is that we’re pretty well synced with your dbt project. So, in Lightdash, Tables actually come from dbt models that have been defined in your dbt project’s YAML files. If your dbt model has been defined in a YAML file, it will appear in Lightdash as a Table.Adding Tables to your Lightdash project using the CLI
Watch this video, or keep reading for a step-by-step guide on how to add Tables to your Lightdash project using the Lightdash CLI.dbt run. It will also document all of the columns in your new model in a schema.yml file.
For example, if you just created a new orders.sql model and you run lightdash dbt run -s orders, an orders.yml file will be generated in your dbt project with all columns documented, like this:
Next, preview your changes
You’ll be using thelightdash preview command for this step.
Once you’ve generated your Tables and YAML files in dbt, you can test them out in a Lightdash preview environment.
Developer previews are temporary Lightdash projects where you can safely experiment with your metrics, dimensions and charts without affecting your production project.
So, let’s spin up a developer preview and check out our changes. In your terminal, run the commands:
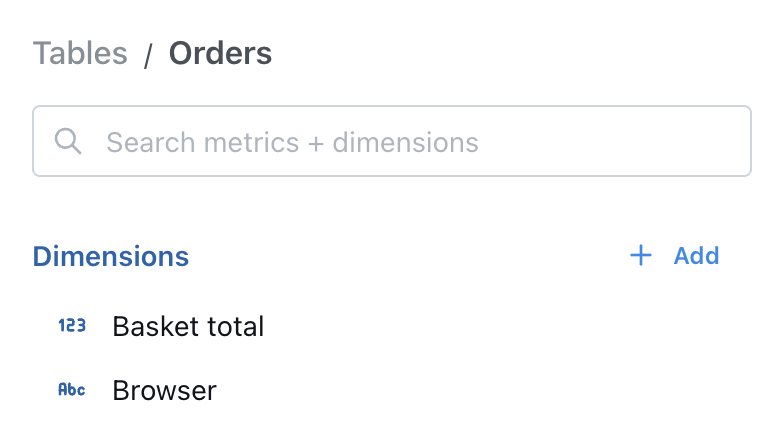
Orders and each column will appear as a dimension:
schema.yml details for all of their models in a single YAML file at the directory level, and that’s totally fine - it will still work with Lightdash.
But, like we said just above, if you’re trying to decide how to setup your dbt project, we’d recommend having one YAML file per model.
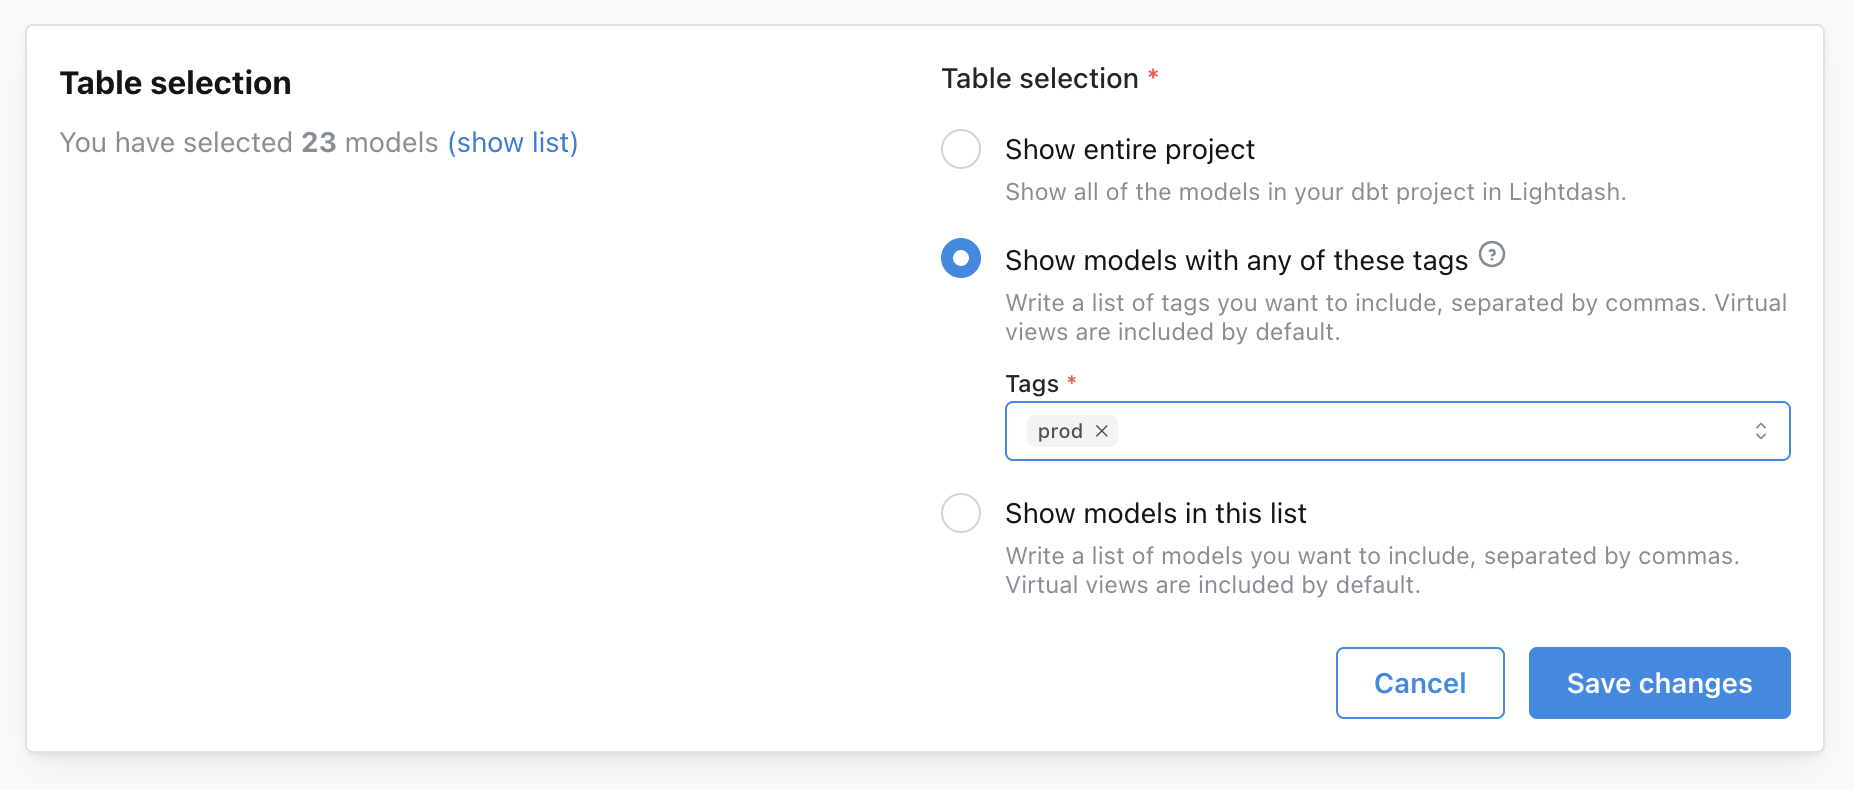
Limiting the Tables in Lightdash using dbt tags
There may be a specific set of models that you want include as Tables in Lightdash. If this is the case, we recommend using dbt tags to tag models. You can use sets of existing tags, or you can create a new Lightdash-specific tag. You can add tags to your YAML file like this:- dbt v1.9 and earlier
- dbt v1.10+ and Fusion
Select the models you want to run using dbt selection syntax
Thelightdash dbt run command supports dbt model selection syntax to generate YAML files for a group of models. This means you can use tags or other model selection syntax to specify which models you want to generate dimensions for in your dbt project.